Here at Kajaani University of Applied Sciences, us team leads have had to pitch our projects several times already. This time though, it was different. Pitching a VR game brings some unique challenges along the way that you might not encounter in regular games. Here I’ll walk you through the process we went though to make the pitch for the teachers and fellow students to see, also with some points of improvement. The pitch was successful, but nowhere near perfect.
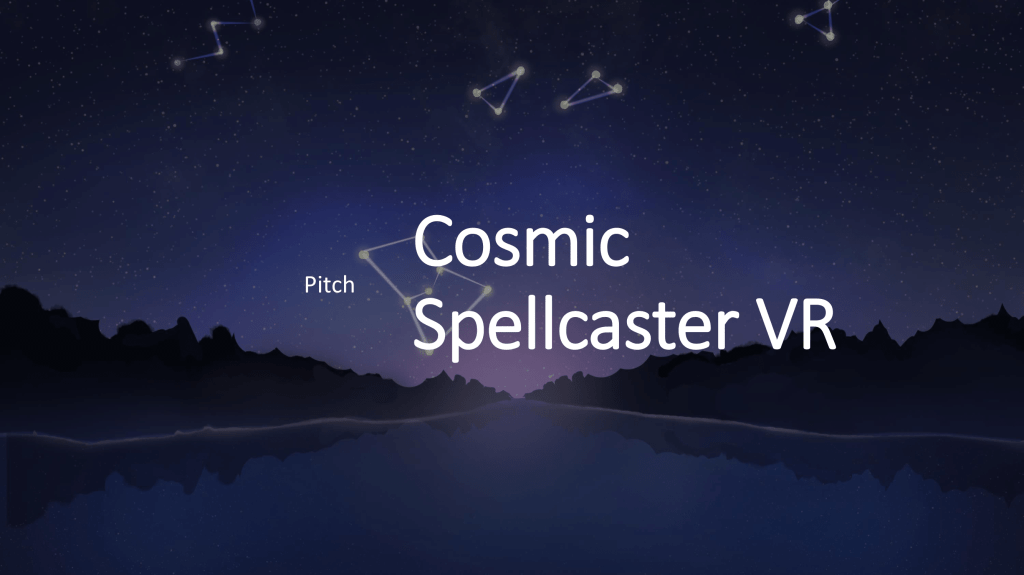
- This is the opening slide of the pitch. It doesn’t contain much, but it’s still really important. This slide is what we use to create the first impression of the project that is to come.
There are two major things in this slide: the name of the project, and the visuals presented in the background. A name is always really difficult to come up with, regardless of the project, as we only have maybe a week to come up with the whole game idea in the first place. Often a placeholder name is used, but there’s a danger that the placeholder name will stick with the audience so well, that they’ll never learn the actual name when it’s finally presented.
In our case, our pitching name is a mash-up of the names we had been thinking about so far, with a reference to many other VR titles that have “VR” in their names. It will give an accurate first impression what we’re about to present, without (hopefully) being too catchy to stick with people past the point where we’ll figure out the actual name.
As our visuals, we used a 30 minute sketch made by one of the artists in our team, which gives the right atmosphere with its colors, river in a forest and the constellations in the sky. It was the only piece of landscape art we had at the time as well, so I used it generously throughout the whole pitch.
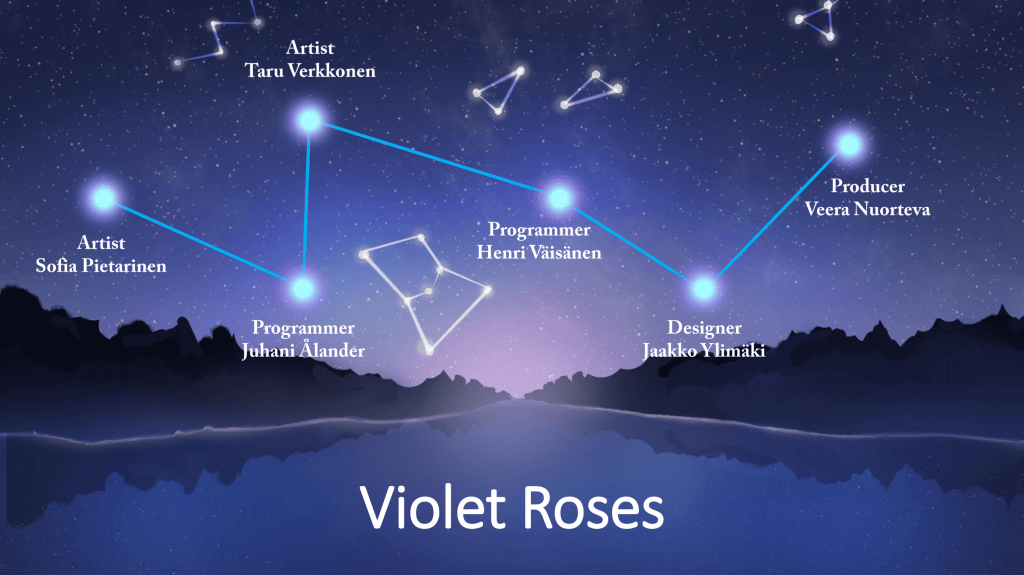
- The team introducing slide is next with all of our names and roles. It presents the necessary while holding onto the theme that was given out earlier. Consistency is the key!
It’s really important to present your team in your pitch, since no matter if it’s school or an investor, they’ll want to know who exactly is supposed to execute the plans shown. As a team lead or a producer, you also want to show respect to the people you’ll be working with for the rest of the project.
In our pitch, people were presented as stars in a single constellation. A little cheesy, yes, but it shows a unified image of the team that ties well into the theme of the project. The order of presenting the team members was a little random in the end, but the one idea behind the order was to show the executing forces first, and decision-making forces later (though, of course everyone gets to make decisions and affect things). I thought I was following the IGDA guidelines regarding credits, but in that case I should’ve put our designer first, then programmers, then artists and finally myself. There’s a good point of improvement for the actual game credits!
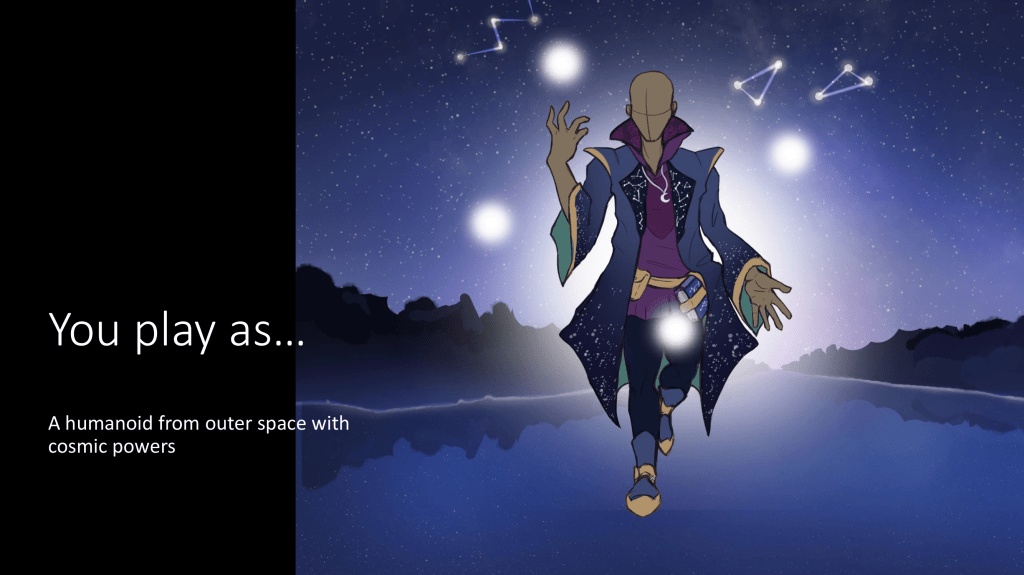
- Finally, the game! Our pitch starts by presenting the idea by putting the viewer into the shoes of a cosmic being. The image with very little other information helps the viewer focus on the mental image of this strange character, before having to focus on the events of the gameplay.
Presenting a game idea with little images and no video content can be very challenging. There are many ways to approach the presentation of your game’s idea. Many choose to describe their game by describing other games, such as “our game is like X meets Y”. The danger there is that some or even many people might have never player those games, leaving them clueless what your game is all about. Another way is to describe your game with genres and themes, such as “FPS RPG with rogue-like elements, set in space”. This can certainly give some indication of what your game is about, but it still leaves a lot for interpretation. Worst case the listener can be left clueless like in the first example, especially if terms like “metroidvania” are used.
Our approach was to explain who you are, and then, what you’re trying to achieve, and finally the conflict that drives the events forward. Simple slides with lots of rooms for images.
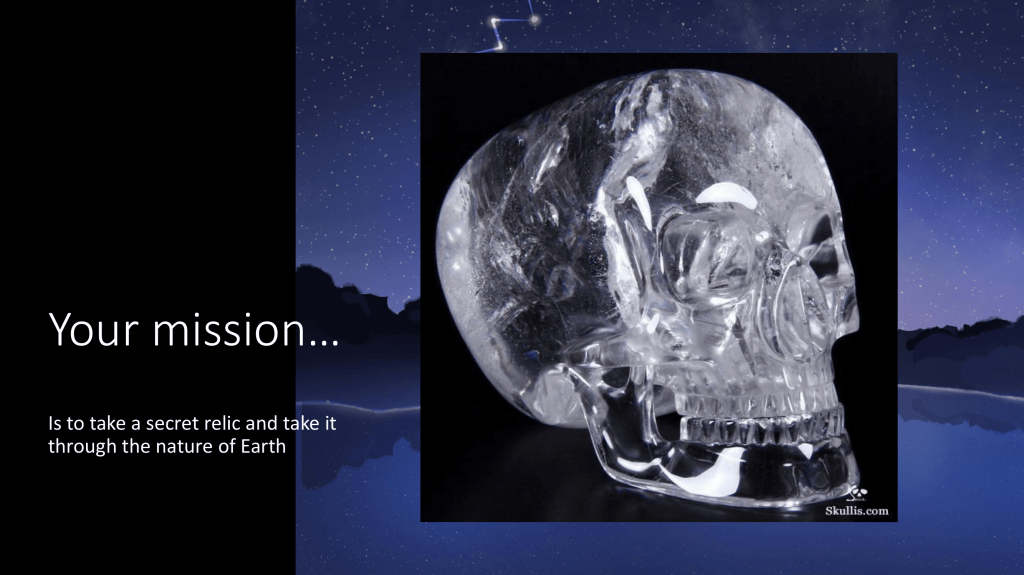
- Introducing the game’s primary goals. This slide is not particularly great, but it communicates the idea well enough.
Our statement about the mission is already old knowledge, and the picture I chose was pretty bad in the end. But a bad picture with accurate concept is better than no picture, or a good picture of a completely different thing.
This was a difficult slide to decorate, since we had no idea what our “relic” would look like, and if it even is a relic, rather than a creature or totally something else. We also had no sketches or artwork about the possible options. We knew that our main character is on Earth after something, and they need to travel on Earth with that something for some reason. But for the pitch, it was better to present one of those “somethings”, than to go out there with seemingly no clue what we’re on about. Confidence is the key.
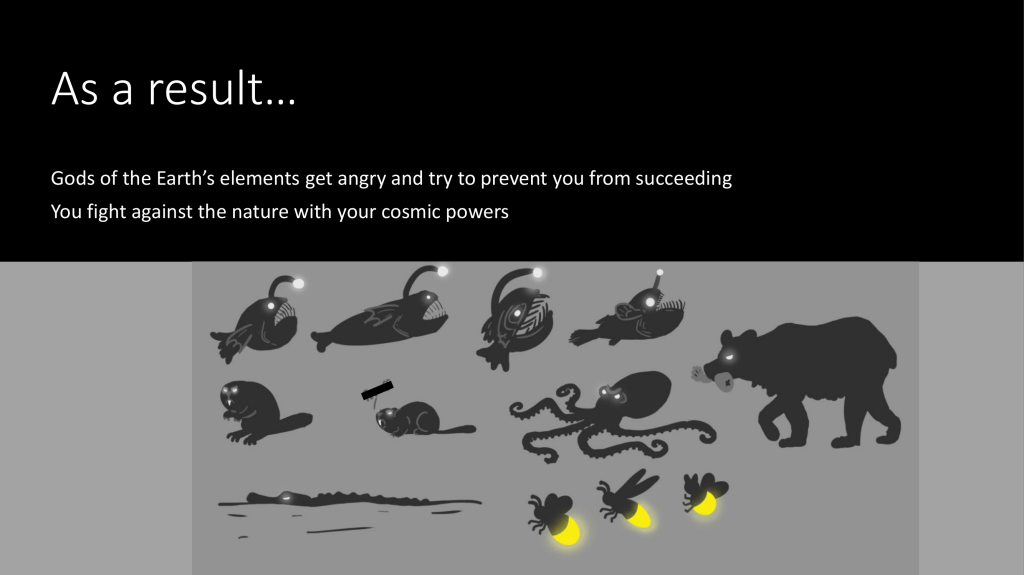
- Introducing the conflict of the game. Elemental gods are up against you and try to prevent you from taking the relic. Again, not the best-looking slide, but it conveys just enough information to pass.
It’s good to present any and all visuals you’ve created so far in the project – at least when it comes to pitching to the teachers. That way they can see the work you’ve managed to get done better and can get an idea of the art style.
In our pitch we presented these sketches that were made of the enemies so far. It was difficult for the artists to figure out what the enemies should look like, since nothing was set in stone about them, beside them being related to some of Earth’s elements. This first sketch shows animals, but they’ve already been decided to be something different at this point. Also the presentation of these sketches could’ve, and should’ve been better to do them justice, but due to limited time, not many variations of the pitch were composed.
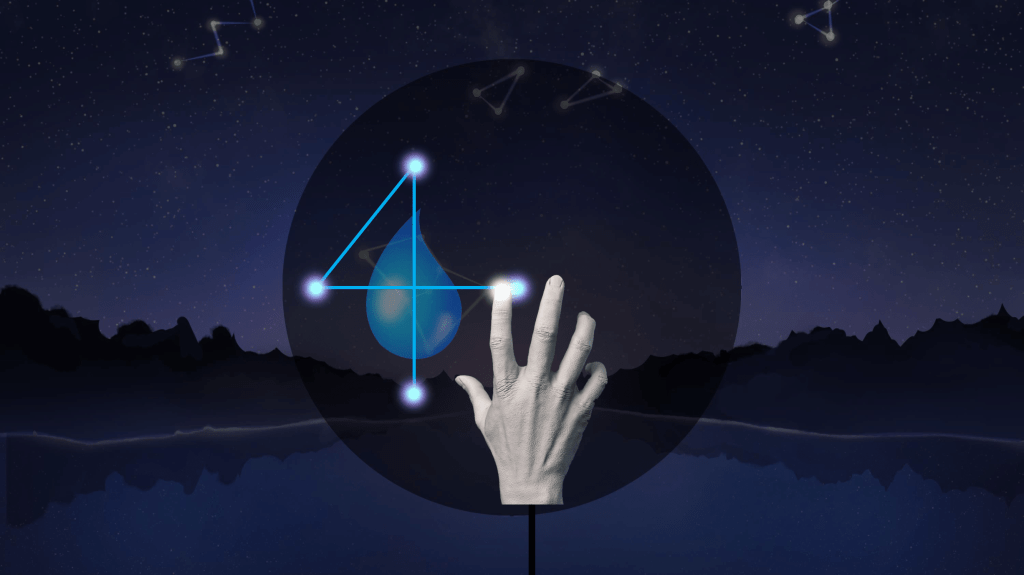
- Action! Now this is where the real challenge is. How to not just tell, but show when there’s no videos, gameplay or concept images available – and all of this for a VR game. You can see the animated version by downloading the presentation from the button in the very beginning of this post.
For this slide (or these slides, if you check the actual animation), we chose to try and present the primary action that the player will be performing throughout the game. In the animation, a view of the river is presented from a first-person view, and then a small fire enemy appears to the screen. The next visual is something like in this image above, where a hand draws a pattern by connecting stars on a plane, and is then shown cast a water spell at the firefly enemy. All while this is playing out, I’m explaining along, filling in the blanks.
A common way to deal with this part of the presentation is to show a core gameplay loop, where arrows are pointing from one action to the next. This is a good thing to have as a summary of events, but trying to demonstrate the action as accurately from the point of view of the player as possible is crucial in delivering the idea from the heads of the developers, to the heads of the viewers. An additional challenge is the fact that the game is in VR, a space where you can look around freely, move your hands, move your whole body and swing your arms in the air. Many people still haven’t even experienced VR properly, myself included, so trying to convey this idea was a huge challenge. It’s always better if you can include a video of the actual gameplay, no matter how ugly placeholders you need to use to get it done.
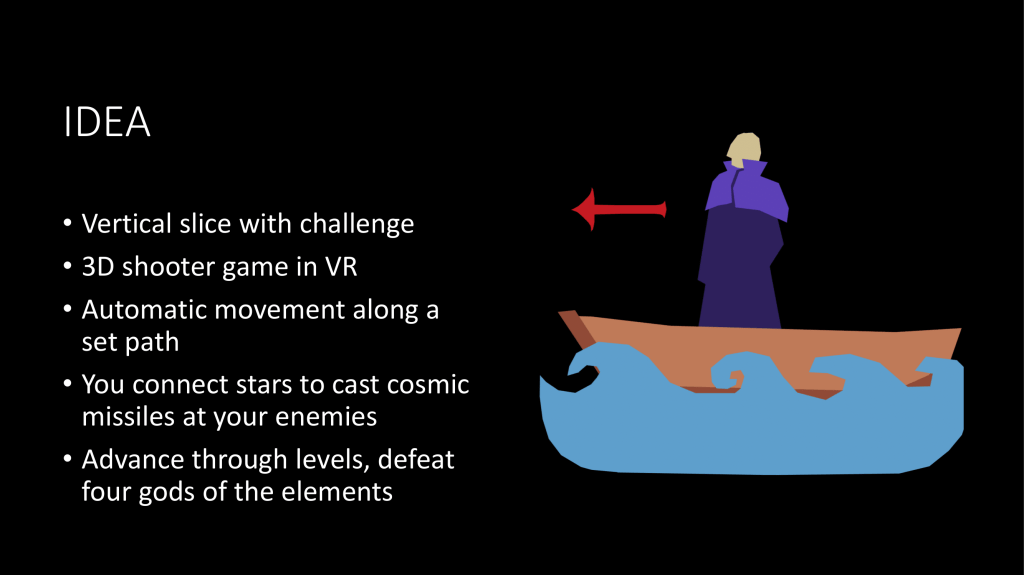
- Back to the basics. After the viewer has got some understanding and the basic feeling about the experience we want to convey, it’s OK to get down to some basics. There’s no need for the player to try to figure out what the game is supposed to feel like, but to get some additional information about what the game really is in practical terms.
This slide serves as a summary and a backbone for the experience what we just talked the viewers through. The “vertical slice with a challenge” is a reference to the course requirements. What is tells you is that we’re aiming to create a vertical slice during these four to five months of development time, instead of a full game.
After that we summarized the game, how the level we’ll be creating plays out and what the basic goals and mechanics to reach those goals are. This could’ve also been two slides, a core gameplay loop and then some extra information, but our time was very limited, and the duration of the actual pitch was only five minutes. Of course some imagery is good to have, and this time not from the player’s point of view, but more like a functional image that helps to understand what the game’s progression looks like.
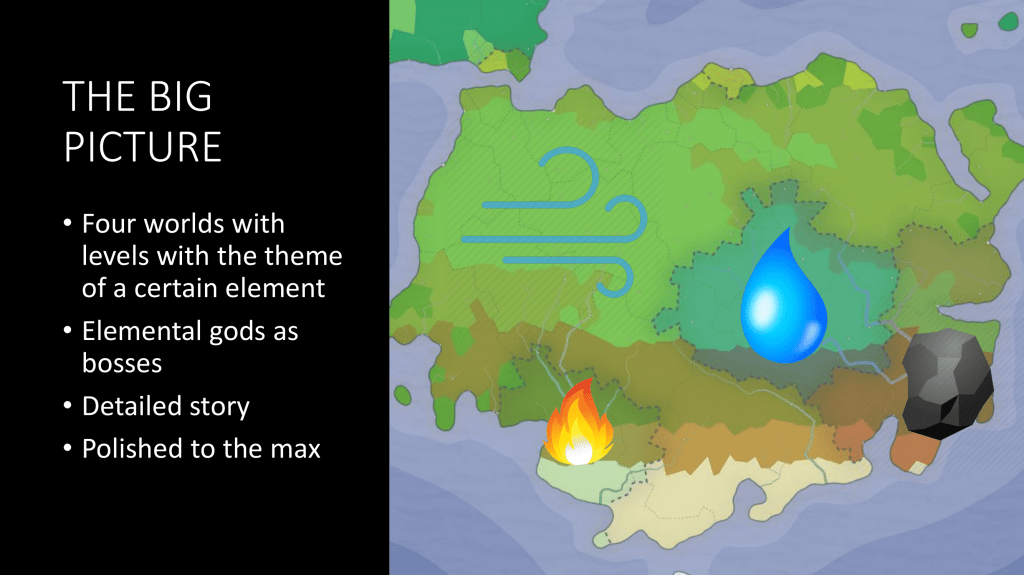
- For the lack of art, and for the need of visuals, this image was composed to explain the “big picture”, so what is the game that we’re making the vertical slice of.
This slide is something that we felt was necessary since our goal is to create a vertical slice. A vertical slice, in short, is a small portion of a game, that in all its aspects represents the final product’s quality. That means, that even though we’re only making a single level, we have to have designed everything around it as well from progression to the lore, to the different places the player has encountered before the slice, and will encounter after it. This slide was made to show that we have indeed thought about the full experience that our project will be a slice of. Even though it’s not much, it shows that we understand what a vertical slice is. And of course, when it comes to pitching to a publisher, it shows them how polished work we are aiming to deliver, and what the experience will actually be like in the end.
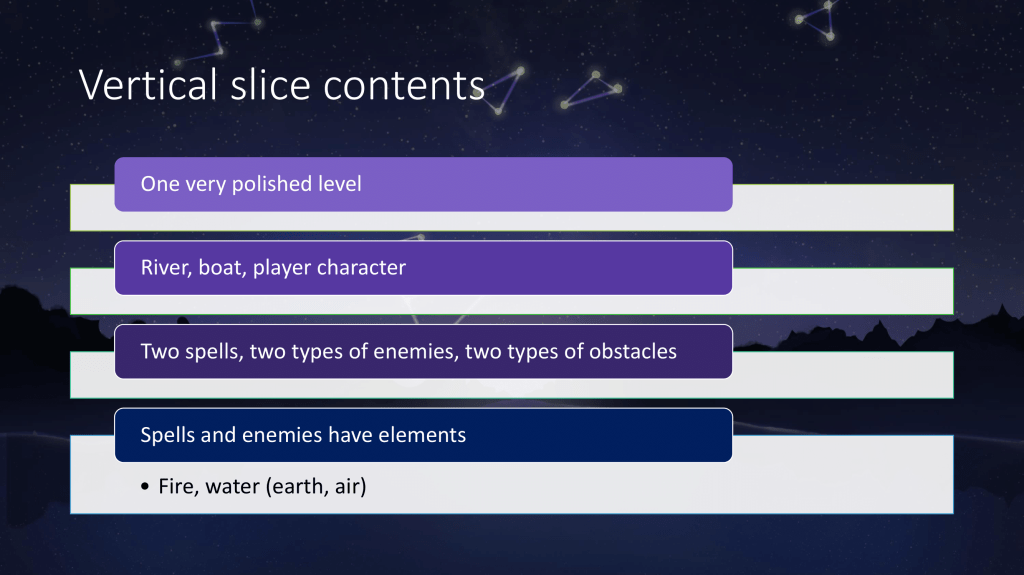
- After the big picture, here is presented what we’ll include in the game in the time that we’ve been given. It’s better to underestimate and go past expectations, rather than under perform.
In this slide we gave our promises. “This is what you will see in our project, if you let us pass,” is what we’re essentially saying to the teachers here. This is really important, because after trying to get people excited about our concept, this is where judges will really think whether we’ll be able to deliver what we’re showing. You can’t be overly ambitious, but you have to be just enough not to make it seem like some people might have nothing to do half-way to the project.
Again, this slide is already old news since we’re not going to have obstacles in the vertical slice, but it’s OK to change things later, as long as it’s not too drastic and it’s better for the end product. When coming up with this list, we try to think with the whole team what is the minimum amount of features that would make our project good. We can always come up with more and prioritize them (core, extended, wishlist), and actually one always should (to prevent a situation where your team is all done and has nothing left to do).

- A slide with examples of the final art style. This is especially important if you have no actual assets to show.
So since we didn’t have much art to show, and in fact zero 3D assets, it’s necessary to show what we’re at least aiming for. Artists need to gather reference art and mood boards, which can be used to easily convey the complexity and the color schemes of the final product. We were quite sure about the stylized 3D artstyle, but the colors and theme of the surroundings was still a little unclear. The artists gathered up images of different 3D games and we managed to use that to give the basic idea.
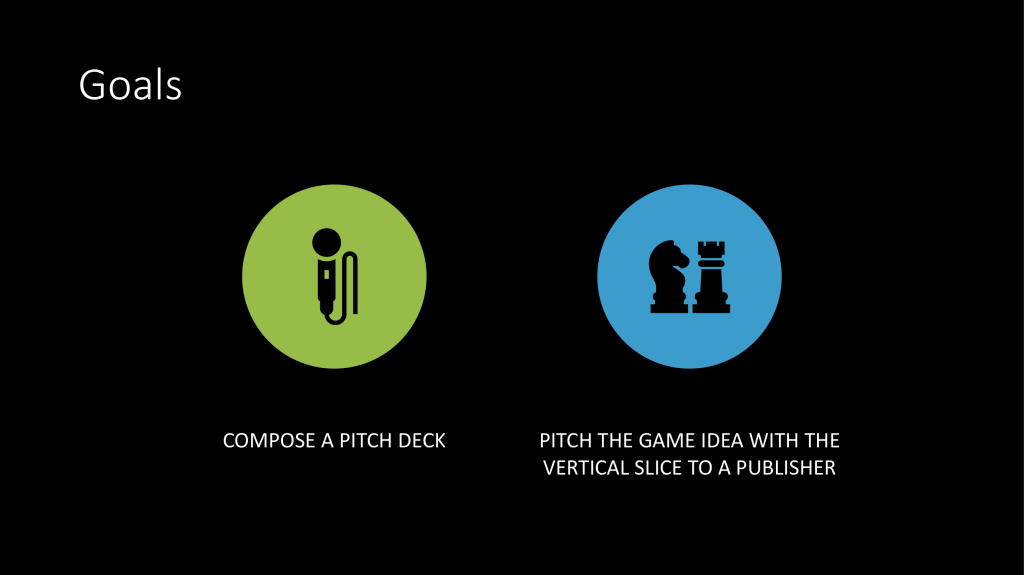
- So what do we actually want to achieve? This is the answer. Clear goals are a must, and here we showed that our project has a bigger purpose than just to complete the course. We want to learn about the actual context of vertical slices, why they’re made and how they’re used.
This slide has a similar idea to the “promises for the judges”, but instead this is promises to ourselves and to the team. Important learning goals, purposes and motivations can be included to strengthen the message, as long as its short and sweet. This is kind of a last note, a wrap up before the actual ending.
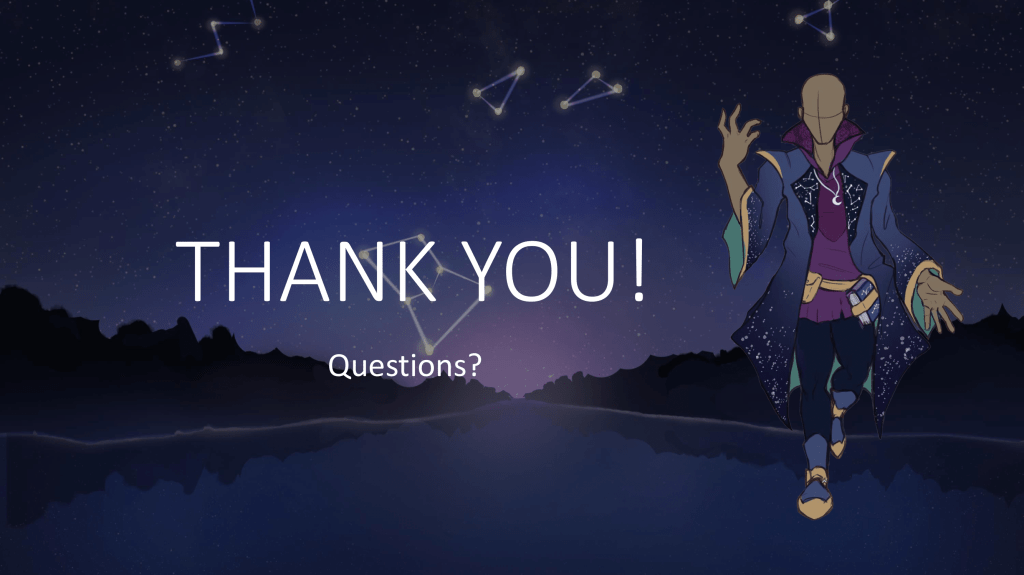
- Small but important – a “thank you”
It’s always important to have a clear and good finish to the presentation with no additional information. Just letting the audience know that this is it, thanking them for their time and attention, and letting them know it’s the time to ask any questions if they have any is good to have, and especially say out loud. This is how you can show respect to your audience, which is really important since they are the ones you want to convince about the quality of your plans. It’s also OK to add any social media handles for your project or other contact information, if your project has any.
Other improvements
Some things were left out due to the short preparation time, others because this pitch was only supposed to last for only five minutes (usually they’ve been from seven to ten). One thing that was already mentioned earlier was the core gameplay loop slide, that’s a good thing to have in general. Even if it doesn’t make it to the presentation, it’s a useful graph to have in your design documents.
Another thing we didn’t have at all was a schedule. Many other teams have schedules of different levels of detail in them, while ours had none this time. It’s easier to convince everyone that your plans will work out, if you have some estimate of when you’re aiming to have what done. We didn’t have that, but then again it didn’t stop us from passing. In fact, no one even questioned it. So you can definitely convince the teachers without one, but I wouldn’t suggest trying it. When pitching in real life, having a schedule is a necessity, so it’s better to start practicing now.
So I hope there was some interesting insight on how this project got started, and about pitching in general. Pitching is an interesting topic and we’d love to hear your ideas on how to make a game pitch as good and convincing as possible.
Thanks for reading!
